1. Windows下打开代理
1.1 允许局域网
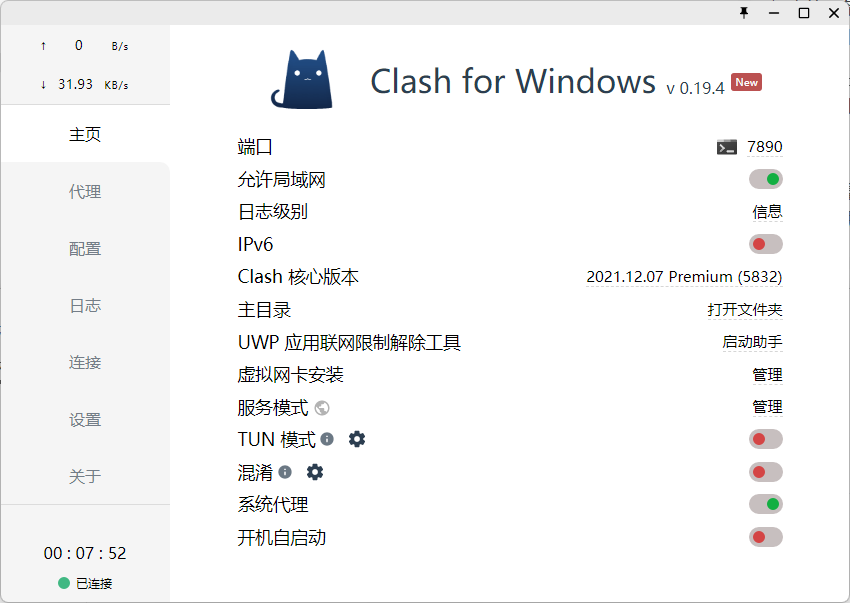
以Clash为例,购买相关配置,选择主页选项卡,开启允许局域网:
1.2 开启防火墙
打开Windows Defender 防火墙,选择允许应用或功能通过 Windows Defender 防火墙:
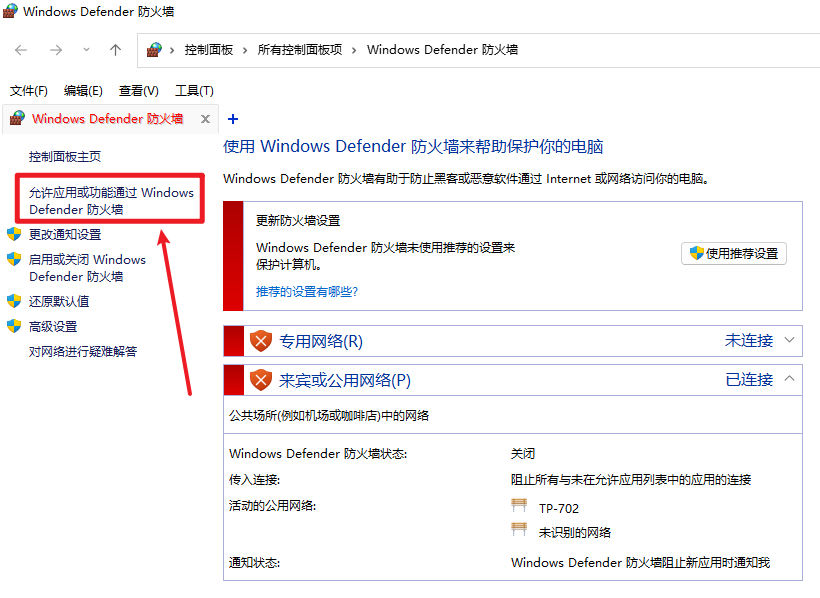
点击更改设置,找到Clash for Windows,然后勾选专用和公用:

如果找不到
Clash for Windows,点击下方的允许其他应用,然后找到安装路径,将Clash for Windows.exe文件加入进来。
2. 配置WSL2
2.1 单次配置
这种配置方法适用于单次配置,也就是在重启终端后会失效。在终端中输入如下语句:
如果是采用HTTP协议:
export hostip=$(cat /etc/resolv.conf |grep -oP '(?<=nameserver\ ).*')export https_proxy="http://${hostip}:7890";export http_proxy="http://${hostip}:7890";其中后两行的
7890需要更换为自己代理服务器的端口号,在Clash的主页选项卡中可以查看。
如果采用socket5协议:
export hostip=$(cat /etc/resolv.conf |grep -oP '(?<=nameserver\ ).*')export http_proxy="socks5://${hostip}:7890"export https_proxy="socks5://${hostip}:7890"如果端口号一样则可以合并成为一句话:
export all_proxy="socks5://${hostip}:7890"使用curl即可验证代理是否成功,如果有返回值则说明代理成功。
curl www.google.com2.2 长期配置
这种配置方法适用于长期配置,也就是写一个脚本,然后可以通过命令启动代理。新建proxy.sh脚本如下:
#!/bin/shhostip=$(cat /etc/resolv.conf | grep nameserver | awk '{ print $2 }')wslip=$(hostname -I | awk '{print $1}')port=7890 PROXY_HTTP="http://${hostip}:${port}" set_proxy(){ export http_proxy="${PROXY_HTTP}" export HTTP_PROXY="${PROXY_HTTP}" export https_proxy="${PROXY_HTTP}" export HTTPS_proxy="${PROXY_HTTP}" export ALL_PROXY="${PROXY_SOCKS5}" export all_proxy=${PROXY_SOCKS5} git config --global http.https://github.com.proxy ${PROXY_HTTP} git config --global https.https://github.com.proxy ${PROXY_HTTP} echo "Proxy has been opened."} unset_proxy(){ unset http_proxy unset HTTP_PROXY unset https_proxy unset HTTPS_PROXY unset ALL_PROXY unset all_proxy git config --global --unset http.https://github.com.proxy git config --global --unset https.https://github.com.proxy echo "Proxy has been closed."} test_setting(){ echo "Host IP:" ${hostip} echo "WSL IP:" ${wslip} echo "Try to connect to Google..." resp=$(curl -I -s --connect-timeout 5 -m 5 -w "%{http_code}" -o /dev/null www.google.com) if [ ${resp} = 200 ]; then echo "Proxy setup succeeded!" else echo "Proxy setup failed!" fi} if [ "$1" = "set" ]then set_proxy elif [ "$1" = "unset" ]then unset_proxy elif [ "$1" = "test" ]then test_settingelse echo "Unsupported arguments."fi注意:其中第4行的
<PORT>更换为自己的代理端口号。
source ./proxy.sh set:开启代理source ./proxy.sh unset:关闭代理source ./proxy.sh test:查看代理状态
2.1 任意路径下开启代理
可以在~/.bashrc中添加如下内容,并将其中的路径修改为上述脚本的路径:
alias proxy="source /path/to/proxy.sh"然后输入如下命令:
source ~/.bashrc那么可以直接在任何路径下使用如下命令:
proxy set:开启代理proxy unset:关闭代理proxy test:查看代理状态
2.2 自动设置代理
也可以添加如下内容,即在每次shell启动时自动设置代理,同样的,更改其中的路径为自己的脚本路径:
. /path/to/proxy.sh set